The Water Clock: Three Estuary Loops Where the Tide Picks Your Start Time
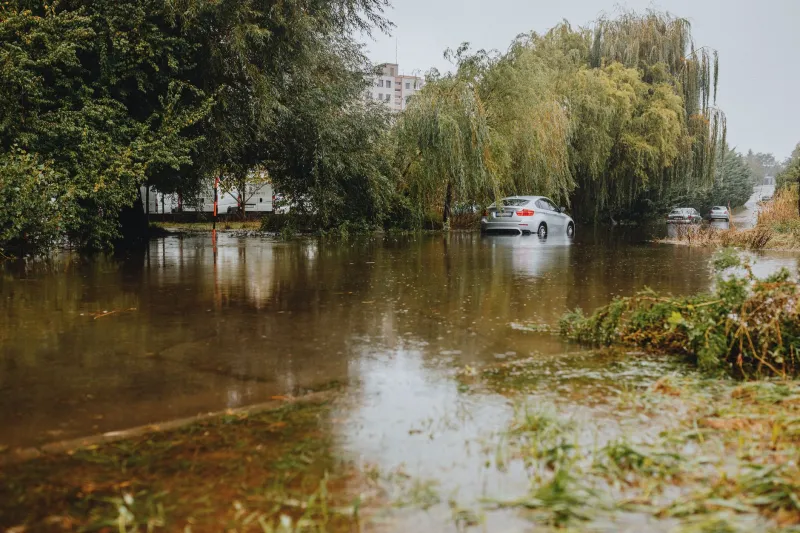
There are rides you fit around a lunch stop, and there are rides you fit around the sea. Estuary loops sit firmly in the second camp. Get the timing right and you get empty lanes, big skies and the strange satisfaction of riding a road that will be underwater in an hour. Get it wrong and you get a soaked bottom bracket, a long wait in a car park, or a very awkward conversation with the coastguard.
This is not a dare. It’s a planning piece. The tide is predictable, which is the whole point. Treat it like a train timetable that happens to be written by the moon, and these routes become some of the best low-traffic days out in the UK.
First, learn to read the water clock
A tide table is not a vague suggestion. It gives you high and low water at a standard port, plus corrections for secondary spots. For a causeway, the number you care about is not “high tide” in general but the specific window when the road is dry and the exit is still open. Local signs often state a safe crossing period; believe them over your own mental arithmetic.
Spring tides move more water than neap tides, so the same causeway can be a puddle one week and a proper channel the next. Low pressure and a strong onshore wind can push water higher than the table suggests. And “two hours either side” is a useful starting point, not a universal law. Some crossings have a much tighter window.
My rule is simple: if water is already moving across the road, you are late. Don’t test the depth. Don’t assume a car will show you the line. Turn round, find a café, and wait for the sea to lose interest.
Mersea Island, Essex: the Strood shuffle
Mersea is the easy-going introduction to tidal riding. Train to Colchester, then spin the nine or so miles down to the Strood, the causeway that links the island to the mainland. At high water the Strood can flood, and the island gets on with being an island. The rest of the time you can ride across, loop round to East Mersea and Cudmore Grove, and come back via West Mersea for chips.
The surface is mostly flat tarmac and firm track, with the usual estuary seasoning of salt, grit and the odd patch of algae where shade lingers. After rain, the corners near the Hard can be slicker than they look. The loop itself is short enough to ride twice if you’ve timed it badly, but the point is the window, not the distance.
Bail-out is straightforward: West Mersea has cafés, a shop and places to loiter. If the Strood is under water, do not cross. Wait. The train back from Colchester will still be there. Pack a light layer, lights and a snack; this is a ride where the pub can end up being your plan B.
Chichester Harbour, West Sussex: Bosham and the shy lanes
Chichester Harbour is less of a single causeway and more of a maze of little roads that behave differently depending on the tide. Train to Chichester, ride south through Fishbourne and Bosham, and you’re into a landscape of quays, channels and lanes that look firm until the water arrives. Bosham’s shoreline road and parts of the harbour loop are the bits to watch.
The classic shape is Chichester to Bosham, round via Chidham and Emsworth, then back by train from Havant or Southbourne. It’s a gentle patchwork of lanes, gravel edges and harbour views, with enough choices to cut the ride short if the water is earlier than you expected. The surface is mostly good, but estuary lanes collect mud and grit after wet weather. Thin commuter tyres will cope; racing tyres and optimism will not.
This is a route where an offline map earns its keep. Phone signal comes and goes, and “the road by the water” is not a useful instruction when half the lanes look like they lead to a slipway. Mark your bail-out stations before you leave: Chichester, Havant, maybe Southbourne. Then give yourself a buffer either side of high water. The harbour doesn’t care that you wanted a Strava segment.
Lindisfarne, Northumberland: the causeway with a refuge box
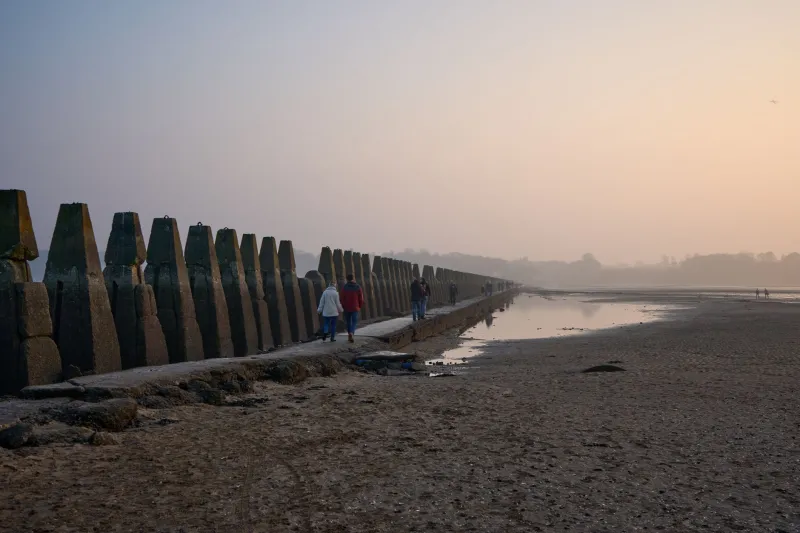
Lindisfarne is the big one, and it deserves respect. Train to Berwick-upon-Tweed, then ride roughly ten miles south along the coast to the Holy Island causeway. This is a lollipop rather than a pure loop: cross within the safe window, ride round the island, then cross back before the sea returns. The causeway has a refuge box for a reason. It is not a viewing platform.
The surface is road, sand and gravel depending on where you wander on the island. Wind is the hidden cost. Even on a dry crossing you can be pedalling into a headwind that makes the window feel shorter than the table says. Check the local safe crossing times, add margin, and don’t be tempted to squeeze in “one more look” at the castle.
Bail-outs are limited once you’re out on the causeway, which is exactly why the planning matters. On the island, shelter and food are available; on the crossing, you have the refuge box and your own judgement. Carry a windproof, water, food and a fully charged phone. Tell someone your plan. If the water is already licking the road, stop.
Packing for a route that can turn
You don’t need expedition kit for a UK estuary loop, but you do need to assume the day might not go to plan. A dry bag for phone and wallet, a power bank, an offline map, a warm layer, lights, basic tools, water and food are the sensible baseline. Cash is still useful in the kind of cafés that sit near causeways. A screenshot of the tide table is good; knowing how to read the live local signs is better.
Most importantly, pack a bail-out mindset. Know the train times. Know where the nearest station is. Know that waiting is a valid riding decision. The tide is not an inconvenience to be beaten; it’s the co-author of the route. Ride with it, and these estuary loops give you something traffic-free roads rarely do: a proper sense of occasion, and a very good reason to check the clock before you clip in.