The Ten-Minute Route Audit: How to Tell a Winter Lane from a Slip Trap
A Nice Line on the Map Is Not a Promise
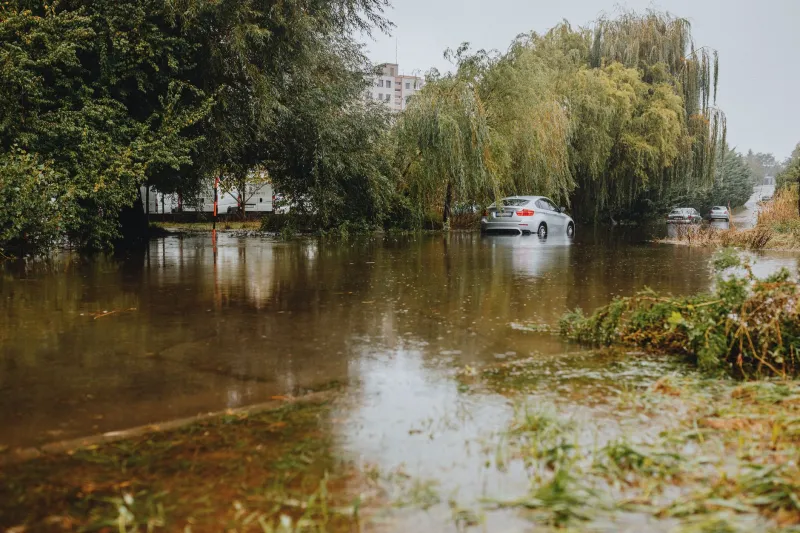
Every winter, the same thing happens. Someone posts a route in a local group, the profile looks sensible, the distance is manageable, and the lane looks charming on Street View. Then you get out there and find a carpet of wet leaves, a bend covered in grit, and a ford that has somehow become a small lake. The ride isn't ruined, exactly. It's just slower, sketchier and far less fun than it looked from the sofa.
Vetting a winter route isn't about being timid. It's about knowing where the risk sits before you're halfway down a narrow lane with a van behind you and no easy place to turn around. Ten minutes of checking can save an hour of pushing, sliding or standing in a flooded dip wondering why you didn't bring a second pair of gloves.
Start With the Boring Sources
Council road reports are not glamorous, but they are useful. Most local authorities publish gritting routes, road closures and known trouble spots, especially once the colder weather settles in. Look for the difference between a road that is closed and a road that is merely being treated. A gritted route is usually a better bet than an untreated lane, but it is not automatically safe — more on that below.
Flood warnings matter just as much. In England, check the Environment Agency's flood warnings; in Wales, Natural Resources Wales; in Scotland, SEPA; and in Northern Ireland, the relevant flood information service. You don't need a river to burst its banks for a lane to be impassable. A blocked drain, a low-lying field gateway or a ditch that has given up can put standing water across the road for days.
Then there are the local riding groups. A club WhatsApp group or a local forum will often know which lane floods every November and which bend collects leaf mulch like it's being paid to. Ask a specific question: "Is the lane between the village and the bridge passable after rain?" You'll get a more useful answer than "avoid the north side".
Leaf Mulch Is the Quiet Villain
Wet leaves are not just slippery in the way that a damp road is slippery. They form a layer that can hide potholes, drain covers, gravel and the edge of the tarmac. In shaded lanes, that layer can sit there for weeks. It's worst on bends, under trees, on descents and anywhere the road narrows.
When you're checking a route, look for the shaded bits. A lane that runs through woodland or along a high hedge is more likely to hold leaf sludge than an open road that gets wind and sun. If you're riding it for the first time in winter, don't treat a leafy bend as a place to carry speed. Treat it as a place to be upright, off the brakes and looking well ahead.
The same goes for cycle paths and shared-use routes. A traffic-free path can be lovely in June and genuinely sketchy in December. Leaves, mud, broken branches and standing water all collect there, and there's often no gritter or street cleaner anywhere near it.
Grit, Bends and the False Confidence of a Gritted Road
Gritted roads are usually the ones that keep moving, but grit doesn't make a bend safe. It can gather at the edges, mix with mud and become a loose, salty mess. On a cold morning, a treated road can still have ice in the shaded patches, especially on bridges, overpasses and places where water runs across the surface.
The useful question isn't "has this road been gritted?" It's "where does this road hold water or ice?" A gritted A-road may be fine, while the last mile of single-track lane to your destination is the bit that catches you out. If your route depends on a steep descent, a tight bend or a junction with poor visibility, check whether there's a flatter or wider alternative. It may add five minutes and remove a lot of stress.
Standing Water: Look at the Edges, Not the Middle
Standing water is deceptive. The middle of a flood can look shallow while the edges hide a collapsed verge, a deep pothole or a drain that has lifted. If you don't know the road, don't ride into it just because someone else did. Look at the road markings, the kerb line and the surrounding fields. If the water is moving, if it's covering the centre line, or if you can't see the bottom, turn around.
For commuters, this is where a reliable alternative matters. A route that works in dry weather can become a lottery after a week of rain. Check whether there's a parallel road, a station-assisted option or a slightly longer way around the low ground. It's not defeat. It's just good route design.
The Dark Shortcut That Saves Five Minutes
Dark shortcuts are tempting in winter. A cut-through, a towpath, a park path or a quiet lane can shave time off a commute. But dark shortcuts often have poor surfaces, blind entrances, locked gates or no lighting. A route that feels fine in daylight can feel completely different at 5pm when it's pitch black and wet.
If you're relying on a shortcut after dark, ride it once in daylight first. Check the surface, the lighting, the barriers and the exits. Ask yourself whether you'd want to deal with a puncture there. If the answer is no, it's probably not a winter shortcut. It's a summer novelty.
Build a Bad-Weather Bench
Aim for two or three alternatives rather than one perfect route. You want a default ride, a wet-weather ride and a really grim-day ride. The default can include the nicer lanes. The wet-weather version avoids the low ground and the leafy descents. The grim-day version might be shorter, more urban or partly on a train. That's fine. The point is to have somewhere to go when the weather turns.
Local knowledge helps here. Ask other riders which roads they abandon first. Check whether your council publishes a winter service plan. Look at a map and mark the flood-prone bits, the steep shaded descents and the places where you'd be committed once you're in. Then ride the alternatives on a normal day so you're not discovering them in the dark with cold hands.
The Recce Ride: Check at Walking Pace
If a route is new to you, don't make your first winter ride a race against the clock. Ride it at a sensible pace, or even walk the dodgy bit. Look at the surface, the drainage, the sight lines and the escape routes. A quick recce tells you more than any map. It also gives you a chance to find the café, the station or the bit of shelter you might need later.
Winter route-checking is not about finding the perfect road. It's about knowing where the bad bits are and deciding whether you want to deal with them. Do that, and a wet November ride becomes a lot more predictable — and a lot more enjoyable.