Bright Enough, Not Blinding: Winter Commuter Lights That Help Without Hijacking the Road
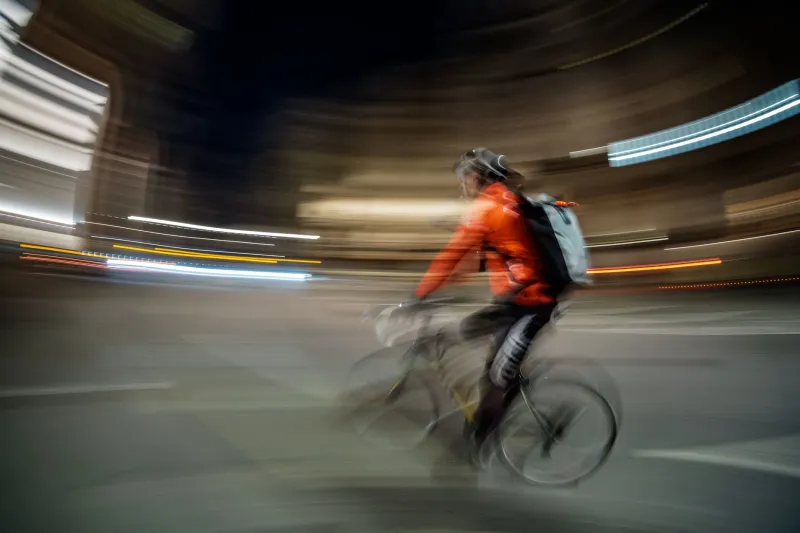
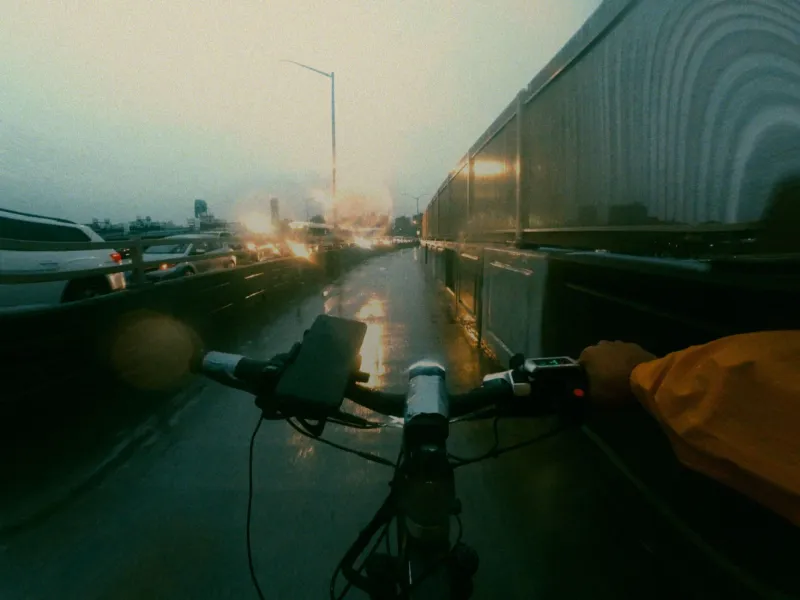
November is the honest month for commuter lighting. The clocks have gone back, the roads are wet enough to swallow half your beam, and the ride home is a negotiation with unlit cut-throughs, parked vans and drivers who are already tired. This is when you find out whether a light set is genuinely useful or just a bright dot with a marketing budget.
I have spent the past fortnight swapping six sub-£150 commuter sets between a city run, a suburban school-drop corridor and a proper unlit lane. The brief was simple: judge them as commuting equipment, not as off-road spotlights. That means beam shape, mounting, battery honesty and whether the thing helps a driver understand where you are and how fast you are closing. Raw lumen figures came last.
The law is a floor, not a target
UK law requires a white front lamp of at least 4 candela and a red rear lamp of at least 4 candela, plus reflectors, if you are riding after dark. Flashing lamps are allowed between one and four flashes per second. Lights should be marked BS6102/3 or be of equivalent standard. That is the minimum. A legal blinker can still be nearly useless at a busy roundabout.
The more useful rule is don't dazzle. A light aimed at driver eye level makes it harder for someone to judge your speed and distance. On shared paths it is anti-social; on rural lanes it can be actively dangerous. Point the beam down and slightly left, and use a shaped beam if you can. A commuter light should light your way without turning the opposite carriageway into a staring contest.
Beam pattern beats big numbers
Lumens are peak output, not useful light. A cheap 800-lumen flood light can throw a blob of glare into a driver's windscreen while leaving the gutter and the road edge dark. A well-shaped 400-lumen commuter lamp often works better because it puts light on the road where you need it and cuts off before it reaches other people's eyes. Look for a visible cut-off, a horizontal top edge or a beam that is wider than it is tall.
On lit streets, you mostly need to be seen. On unlit lanes, you need reach and width without the beam climbing into trees. That is why the six sets below are judged as packages: front lamp, rear lamp, mounts and charging. A brilliant front paired with a feeble rear is not a commuter set. It is half a set.
Six sets, judged as packages
1. The £35 be-seen pair. Simple front and rear lamps with USB-C charging, a few flash modes and rubber-band mounts. Fine for lit city streets and short trips where you mainly need to register in a driver's peripheral vision. Not enough for an unlit lane, and the mounts are the first thing to fail. Remove them when you lock up.
2. The £80 shaped commuter pair. A 400-500 lumen front with a proper cut-off and a reliable rear with side visibility. This is the sweet spot for most UK riders. High mode runs for around three hours, low or flash mode for much longer. It is not thrilling, but it is honest, and the beam helps without blinding.
3. The £90 high-output front with remote switch. An 800-lumen shaped lamp aimed at dark lanes and fast descents, paired with a basic rear. High mode is a two-to-three-hour affair, so it is not a full week of commuting. Great on a pitch-black cycle path; overkill on a shared towpath. Use the medium setting and aim it properly.
4. The £45 rear-focused urban set. A wide rear lamp with brake-light sensing and strong side visibility, plus a simple front for being seen. This makes sense for riders who mostly use busy roads and want to be noticed from behind. The front is a backup, not a headlight. If your route includes unlit sections, spend more up front.
5. The £120 all-in set with daytime flash. A 600-lumen shaped front and a 100-lumen rear, both USB-C, with mounts that feel like they will survive a British winter. Runtime claims are closer to reality at medium settings, and the daytime flash is genuinely useful in low sun and drizzle. It is the set I would recommend to a rider who wants one purchase and no faff.
6. The £140 long-commute kit with a spare cell. A 700-lumen front, a strong rear and a second removable battery. It is heavier and more expensive, but for a rider doing 45 minutes each way in winter, the ability to swap a cell at the desk is worth more than another 100 lumens. Check that the spare is a proper protected cell and that the charger is decent.
Mounts are where cheap sets fall down
A light is only as good as the bit that holds it. Rubber bands perish, plastic clamps crack in the cold, and handlebar clutter makes it easy to knock the beam off aim. Look for tool-free but secure brackets, a rear mount that fits your seatpost or saddle rails, and a quick-release that does not release itself over a pothole. If you commute on a bike with a swept bar or a dropper post, check compatibility before buying.
Angle matters as much as hardware. A front light should be set roughly level with the road, maybe a touch down, and checked with the bike loaded. A rear light should point straight back, not up into a following driver's face. It sounds obvious. It is also the most common mistake I see on the morning commute.
Battery honesty and cold weather
Manufacturers quote runtime at maximum output in ideal conditions. British winter is not ideal conditions. Cold reduces usable capacity, and a light that runs for three hours on the bench may manage two and a half on a frosty ride. Treat 'up to' figures as best-case, and look for a low-battery warning that arrives early enough to matter. USB-C is now the sensible baseline; pass-through charging is a bonus for desk-based commuters.
If your commute is longer than 30 minutes each way, buy for the mode you will actually use. A 10-hour flash mode is not much help if you need a steady beam on an unlit lane. Conversely, a two-hour turbo mode is not a commuter setting. It is a novelty.
The verdict
For most riders, the best buy is a shaped front in the 400-600 lumen range paired with a dependable rear, all in for under £100. Spend the extra on beam control and mounts, not on a bigger number on the box. If your route is genuinely dark, add a second front light or step up to the high-output set. If your route is lit, a good be-seen pair is enough, as long as it is charged and aimed properly.
At SuperByke, the test is simple: would I be happy riding this set home at 6pm in November, on a wet road, with a bus behind me? The sets that pass are not always the brightest. They are the ones that make you easier to read.